

How to make a knitted photo frame as an accessory?
Jul 30, 2025
Knitting is a timeless craft that allows you to create unique and personalized items. One charming project you can undertake is making a knitted photo frame as an accessory. Not only does it add a touch of warmth and creativity to your space, but it also makes for a wonderful gift. As a knitted accessories supplier, I'm excited to share with you the step-by-step process of creating a knitted photo frame.
Materials You'll Need
Before you start, gather the following materials:
- Yarn: Choose a yarn that suits your style and the size of the photo frame you want to make. Thicker yarns will result in a chunkier frame, while thinner yarns can create a more delicate look. You can experiment with different colors to match your photo or the decor of the room.
- Knitting Needles: The size of the needles will depend on the thickness of the yarn. Refer to the yarn label for recommended needle sizes.
- Photo: Select a photo that you want to showcase in the frame. Make sure it's the right size for the frame you plan to knit.
- Scissors: To cut the yarn.
- Tapestry Needle: For weaving in the ends of the yarn.
Choosing the Right Yarn
The choice of yarn is crucial as it will determine the overall look and feel of your knitted photo frame. Here are some tips to help you select the perfect yarn:

- Fiber Content: Yarns can be made from various fibers, such as wool, cotton, acrylic, or a blend of these. Wool is warm and soft, but it may require special care. Cotton is breathable and easy to care for, making it a great choice for everyday use. Acrylic is affordable and comes in a wide range of colors.
- Thickness: As mentioned earlier, the thickness of the yarn will affect the size and texture of the frame. Bulky yarns are quick to work with and create a bold look, while fine yarns are ideal for a more intricate design.
- Color: Choose a color that complements your photo and the surrounding decor. You can opt for a solid color for a classic look or use variegated yarn for a more vibrant and eye-catching effect.
Casting On
Once you have your materials ready, it's time to start knitting. Begin by casting on the required number of stitches. The number of stitches will depend on the width of the photo and the gauge of your knitting. To determine the gauge, knit a small swatch using the same yarn and needles you plan to use for the frame. Measure the number of stitches and rows per inch (or centimeter) and use this information to calculate the number of stitches needed for the width of the photo.
For example, if your gauge is 5 stitches per inch and your photo is 4 inches wide, you will need to cast on 20 stitches. To cast on, follow these steps:
- Make a slip knot on the needle.
- Insert the right-hand needle into the slip knot from front to back.
- Wrap the yarn around the right-hand needle counterclockwise.
- Pull the yarn through the slip knot to create a new stitch on the right-hand needle.
- Repeat steps 2-4 until you have cast on the desired number of stitches.
Knitting the Frame
After casting on, you can start knitting the frame. There are several knitting stitches you can use, such as the garter stitch, stockinette stitch, or rib stitch. The garter stitch is the simplest and most common stitch, and it creates a textured look with ridges on both sides of the knitting. To knit the garter stitch, follow these steps:
- Knit all the stitches on the needle.
- Turn the work around.
- Knit all the stitches on the needle again.
- Repeat steps 2-3 until the frame reaches the desired length.
As you knit, make sure to keep the tension even and the stitches the same size. You can use a stitch marker to mark the beginning of each row and keep track of your progress.
Adding Embellishments
To make your knitted photo frame more unique and decorative, you can add some embellishments. Here are some ideas:
- Beads: Sew beads onto the frame using a tapestry needle and matching thread. You can arrange the beads in a pattern or randomly for a more organic look.
- Buttons: Attach buttons to the frame for a vintage or rustic touch. Choose buttons in different sizes, shapes, and colors to add interest.
- Ribbon: Tie a ribbon around the frame or use it to create a bow. You can choose a ribbon that matches the color of the yarn or the photo.
Finishing the Frame
Once you have knitted the frame to the desired length, it's time to finish it off. First, bind off the stitches. To bind off, follow these steps:
- Knit the first two stitches on the needle.
- Insert the left-hand needle into the first stitch on the right-hand needle from front to back.
- Lift the first stitch over the second stitch and off the right-hand needle.
- Knit one more stitch on the right-hand needle.
- Repeat steps 2-4 until there is only one stitch left on the right-hand needle.
- Cut the yarn, leaving a long tail.
- Pull the tail through the remaining stitch and tighten it to secure the bind-off.
Next, weave in the ends of the yarn using a tapestry needle. Make sure to hide the ends inside the knitting to give the frame a clean and professional look.
Attaching the Photo
Now that your knitted photo frame is complete, it's time to attach the photo. You can use glue, tape, or a photo corner to secure the photo to the back of the frame. Make sure the photo is centered and straight before attaching it.
Displaying Your Knitted Photo Frame
Once the photo is attached, you can display your knitted photo frame in a variety of ways. You can hang it on the wall using a picture hanger or place it on a tabletop using a stand. You can also group several knitted photo frames together to create a gallery wall.
Other Knitted Accessories
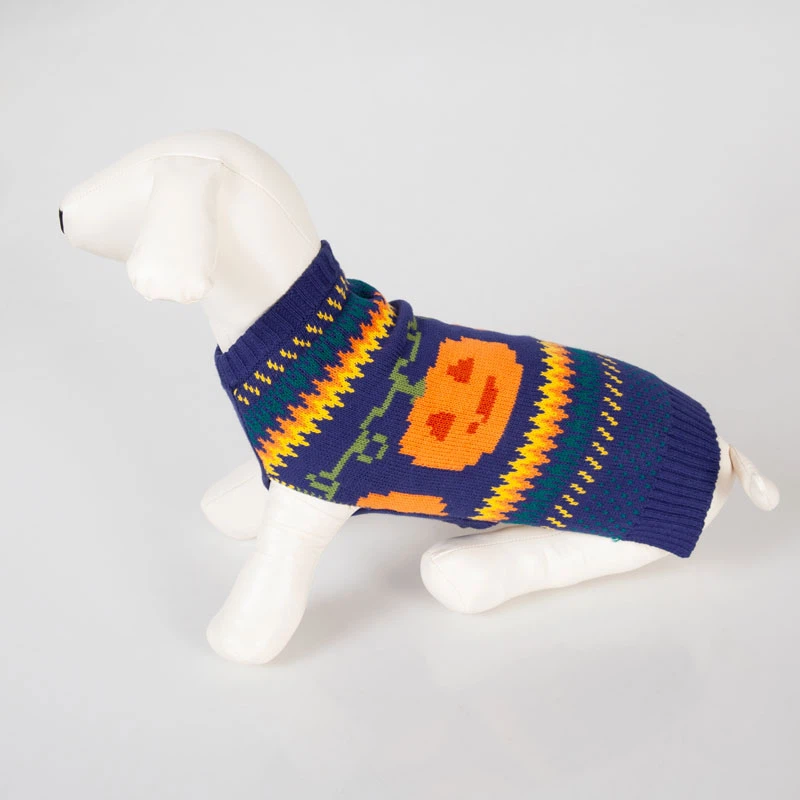
As a knitted accessories supplier, we offer a wide range of other knitted products that you might be interested in. Check out our Cozzy Knit Blanket, Women's Knitted Scarf, and Pet Knitwear. These products are made from high-quality yarns and are perfect for adding a touch of warmth and style to your life.
Contact Us for Procurement
If you're interested in purchasing our knitted accessories in bulk or have any questions about our products, please don't hesitate to contact us. We're always happy to help you find the perfect knitted items for your needs.
References
- Smith, Jane. The Complete Guide to Knitting. ABC Publishing, 2020.
- Johnson, John. Knitting for Beginners. XYZ Press, 2019.